


Surface Prep for Varnishing
Any blemishes that aren’t fixed before you apply varnish will be amplified by the new varnish after it cures. Ever paint a wall, thinking that the thickness of the coating would fill in and cover any small scratches and dents only to find that it actually made them more pronounced after painting? Same thing happens with varnish, so first, be sure to fix any little dings, nicks, discolored wood, and shore up any soft wood to prepare for varnishing.
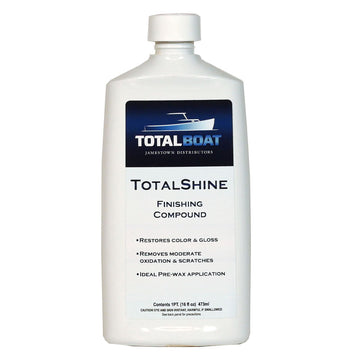
Cleaning and sanding are also very important. Teak must be cleaned, sanded smooth, and wiped clean again before applying varnish to ensure the best bond, finish, and longevity. Sure this prep takes time, but skimp on this stage, and it’ll show. Take the extra time now to prepare the surface properly and you’ll spend a lot of time admiring it later.
Stripping
Varnish that’s old, dull, flaking, or blistering needs to be removed completely before new coats are applied. If you use a chemical varnish remover, position polyethylene sheeting so it covers adjacent areas that the varnish remover will damage. Use a quick-release masking tape to hold the cover in place. Also, follow the label directions carefully because some strippers are more toxic than others and require you to apply an acid neutralizer after you remove the chemical stripper.
For a chemical-free alternative, a heat gun is also very effective at stripping old varnish, especially on irregular or curved areas. Take care not to expose fiberglass to the excessive heat generated by the heat gun.
For the best result, it’s important to keep the varnish bubbling up consistently by holding the gun at the same distance from the surface while scraping. Keeping your blade sharp will also make the job easier and faster.
Cleaning
Teak and other woods must be (unavoidable cliche alert) "squeaky" clean before any type of wood finish is applied–especially varnish. Cleaning teak brings out the grain and creates the best mechanical bond for your first coat of varnish.
When using teak cleaners, it’s important to use a stiff bristle brush and scrub across the grain. Scrubbing with the grain can push dirt deeper into the grain, instead of removing it. After a thorough rinsing, allow the wood to dry completely before sanding.
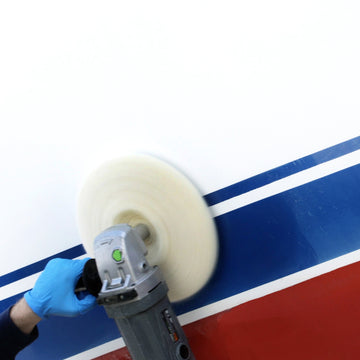
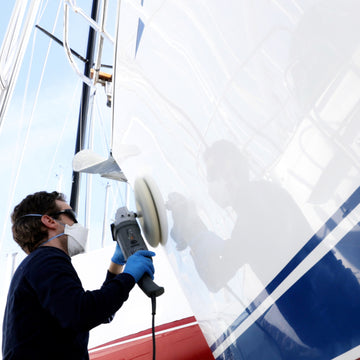
Sanding
Sanding is another must-do before varnishing. It can remove any residual old varnish, level out the surface to make it smooth, and even out the color of the wood. The most important thing to remember is to sand in the direction of the grain using the appropriate grit sandpaper for the task.
Very rough surfaces require the use of lower grit numbers like 80, 100, and 120 just long enough to even out the surface before moving on to less abrasive grits (which have the higher numbers 180, 220, and 320) to smooth the surface, removing any sanding scratches made by the previous grit. You’ll know when it’s time to move up to the next grit number when the surface no longer changes while you’re sanding. Before changing to the next higher grit, use a tack cloth or compressed air to remove the sanding dust.
Before you start sanding, take time to assess the condition of the surface to determine what sandpaper grit you'll need, and whether you can accomplish the sanding by hand or with a random-orbit sander. If you do use a random-orbit sander, don’t push too hard, and keep it moving to prevent gashes and uneven areas.
Masking
Use appropriate masking materials such as polyethylene sheeting and masking tape to protect any surface that abuts the surface to be varnished. This includes hardware (think oarlocks and cleats) which is sometimes not practical to remove.
Benefits of masking tape go beyond protection—it also saves time on cleanup and enhances visual appeal. It’s particularly helpful when doing multiple coats, allowing you to build up layers cleanly without damaging previous coats. Masking also improves efficiency, especially when spraying or roll-and-tipping large surfaces, since it eliminates the need for precision touch-ups.
There are various types of masking tape for different purposes. Some flex better for use on curves; others can stay on the surface longer and remove cleanly without leaving residue. After choosing the right tape, take your time to place it carefully without wrinkles or gaps.
Tips for best masking results:
- Apply tape to clean, dry surfaces to ensure good adhesion.
- Burnish the edges with a plastic spreader to prevent varnish bleed.
- Remove the tape before the varnish fully cures to avoid tearing or chipping the finish.
Wiping
The final step before applying the varnish is to ensure the dry surface is completely free of any residual dust or contaminants, such as oil from fingerprints, dirt, or grease. Dampen a lint-free rag or cheesecloth with mineral spirits or denatured alcohol, wipe the surface, and let the solvent flash (dry).
Comments
0 comments
Please sign in to leave a comment.