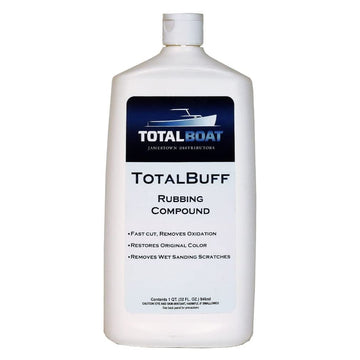
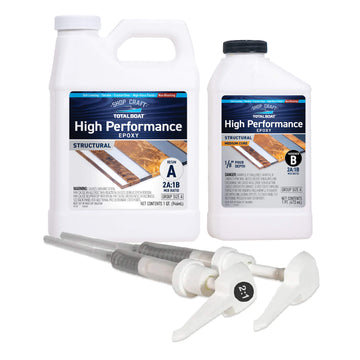
STEP 1 – PREP
- Start with a dry, clean surface.
- Be sure the surface is level before you begin.
- Place a layer of plastic sheeting or a silicone mat under your work area.
- Put on your disposable gloves and other personal protection, including safety glasses, and make sure your work area is well ventilated.
|
 |
STEP 2 – MEASURE (BY VOLUME OR BY WEIGHT)
- Measure MakerPoxy by Volume: Pour 1 part resin (Part A) and 1 part hardener (Part B) into a clean, dry plastic mixing cup.
- Measure MakerPoxy by Weight:
- MakerPoxy has a mix ratio by weight of 100A:84B.
- Select grams on your scale.
- Place your mixing cup on the scale and zero out the weight.
- Add the desired amount of resin (Part A).
- Determine the amount of hardener (Part B) by multiplying the gram weight of the resin x .84. For example, if you pour 45g of resin, you would multiply 45g x .84 to get the amount of hardener to add, which is 37.8g
- To get ready for the next step, have a second clean mixing cup nearby.
|
 |
STEP 3 – MIX
- Stir slowly so you don’t get air bubbles.
- After 3-5 minutes, pour into a second cup and stir for another 2-3 minutes.
|
 |
STEP 4 – ADD PIGMENTS
- Pour mixed epoxy into separate smaller mixing cups.
- Add pigments, as desired, and stir thoroughly to combine.
|
 |
STEP 5 – POUR
- (Optional) Use a brush to apply a thin seal coat of clear, mixed epoxy.
- Delicate objects that may be damaged by epoxy (e.g., photographs) may need to be sealed in a clear coat before embedding.
- Pour the mixed MakerPoxy onto the surface.
|
 |
STEP 6 – POP BUBBLES
- Bubbles will rise to the surface.
- Wave a heat gun quickly back and forth across the epoxy for a few seconds to pop air bubbles.
- Keep pouring and overcoating, as desired.
- Allow to cure. Full cure is 5-7 days.
|
 |
Comments
0 comments
Please sign in to leave a comment.