









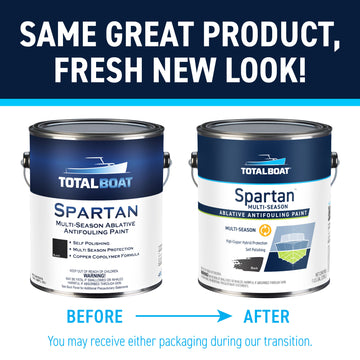








Before you start, pay attention to the dry time between coats and the recommended number of coats, as indicated by the manufacturer. Also, be sure to check if there are any maximum limits on the amount of time the boat can remain out of the water after bottom painting and prior to launch. For example, copolymer ablative paints dry faster, which means their overcoating times are shorter. They also have longer or unlimited launch windows.
Once you know the characteristics of your coating, and you’re ready to paint, here are some tips to expedite the process.
- To make it easier to get as much copper off the bottom of the can and into the paint, take it to a paint shop and have it shaken first. This will make it easier for you to stir the paint thoroughly.
- Do not thin bottom paint or it will lose its antifouling effectiveness.
- Use a solvent-resistant brush or 3/8" nap roller to apply paint thickly, without drips, onto the hull. Keep the thickness even, and paint from one end of the boat to the other.
- Because ablative paints wear away faster in areas of greatest turbulence, apply extra coats to these places such as the leading edge of the keel and the bow.
- Remember to paint underwater metals such as transducers, with a copper-free antifouling paint that will not cause galvanic corrosion.
- Recoat based on the manufacturer’s directions for overcoat times. Ensure that the weather conditions are optimal for recoating.
- After the final coat of bottom paint has dried, remove the masking tape slowly and carefully. After cleaning up, be sure to dispose of used solvent and paints properly.
Comments
0 comments
Please sign in to leave a comment.