



















Some of the supplies you’ll need depend on what type of resin you’re using and whether you’re fairing a small area or a large area, such as a hull. The list below begins with general supplies for fairing, and concludes with optional equipment depending on your particular repair.
- Heavy, abrasive tools such as an angle grinder or a Dremel rotary tool with right angle attachment for grinding out and beveling the edges of cracks, or for grinding down gelcoat blisters
- Clean tongue depressors or a putty knife to dispense resin and hardener
- Plastic spreaders or a putty knife for mixing and spreading the fairing compound
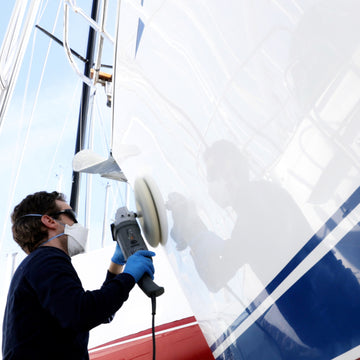
- Personal protection for grinding, sanding, mixing, and application – a NIOSH-approved respirator, with organic vapor cartridges (for grinding/sanding fiberglass or gelcoat), an N95 respirator with vent valve or without (for grinding/sanding wood), eye protection, a hooded paint suit, and gloves
- Sandpaper – From 60 to 180 grit for surface prep; 220-320 grit for sanding fairing compound
- A long, flexible sanding block, or fairing board makes it easier to sand large areas effectively. It bends to the shape of the surface, but is long enough and flexible enough to bridge the low areas and knock down any high spots.
- To make your own fairing board: For a surface that’s more curved, use ¼" plywood; less curved, ½" plywood will do. The width of the board should be 3". The length should be a multiple of 11" to make the best use of sheets of sandpaper that are 7½" x 11". To make the board easier to control, bond a hand-grip at each end.
- Sanding blocks – For sanding smaller areas. Choose from a variety of commercially available hard and soft sanding blocks for different purposes when sanding by hand. For example, a soft sanding block aids in sanding curves and contours; a hard sanding block is best for sanding straight surfaces.
- Masking tape – For protecting areas immediately surrounding the area to be faired, if necessary, while sanding. Use a high-quality masking tape that removes cleanly. For taping curved surfaces, use a flexible tape.
- Clean, lint-free wiping rags and denatured alcohol or acetone for cleaning the surface to remove dust, dirt, grease, and oil after sanding
- Optional sanding items – Random-orbit sander (dustless, if possible) to expedite sanding large areas during surface prep, large diameter sanding discs and a vacuum cleaner to remove all sanding residue
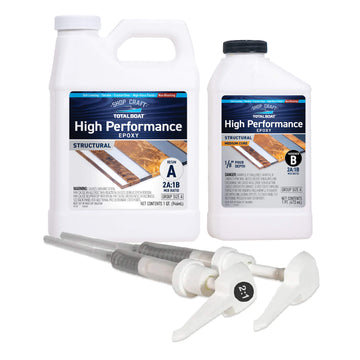
- Optional if using a recipe method fairing compound made with epoxy resin/hardener and fillers, peel ply is a special fabric that doesn’t bond to epoxy, releases easily, and leaves a smooth-textured surface. Use peel ply to prevent amine blush, which must be removed before applying additional coats of recipe method epoxy fairing compound or a coat of primer.
- Optional if using an epoxy resin recipe fairing compound and finishing the faired wood surface naturally (bright): Sanding dust from the type of wood you’re using to make a fairing putty that matches the wood. As with any thickening agent, the epoxy and hardener are mixed first, then the wood dust is added and mixed thoroughly.
- Optional if using a recipe method fairing compound made with polyester resin/MEKP catalyst and fillers: If your polyester resin is a "laminating" resin (no wax), you need to add wax
- Optional if fairing is to repair gelcoat blisters below the waterline: Epoxy barrier coat
- Optional if fairing a hull or large area: Plaster’s hawk or hand board to hold a large volume of fairing putty. If the hull or other surface is very unfair, a notched applicator is ideal for applying putty instead of a flat plastic spreader. Also, for leveling the fairing compound after it’s applied, you’ll need a plastic fairing batten.
- Optional if applying fairing compound to a metal surface: Need to apply an etching primer first so the fairing compound can bond properly
Comments
0 comments
Please sign in to leave a comment.