


This fun Epoxy Marble Effect Countertop Kit project was created by maker and TotalBoat Ambassador, Lana Gonzalez, of glacierbuilt.com. You just need the TotalBoat Epoxy White Marble Effect Countertop Kit and a countertop. It can be a top you’ve made from wood, or an old laminate, Corian®, Formica®, ceramic tile, butcher block, cultured marble, or traditional granite countertop that needs a facelift.
What You’ll Need:
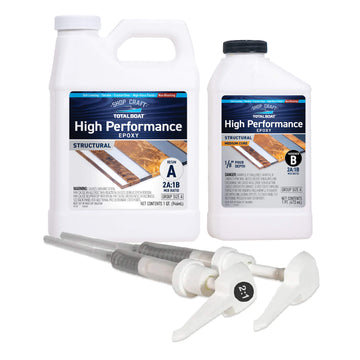
- TotalBoat Epoxy Marble Effect Countertop Kit
- A work area protected by plastic sheeting
- 80-220 grit sandpaper
- A digital scale, if measuring epoxy resin and hardener by weight
- Personal safety gear, such as proper respirators & protection for eyes, skin, and clothing
|
STEP 1 – LAY OUT YOUR MATERIALS
|
 |
|
STEP 2 – LEVEL & PREP YOUR COUNTERTOP
|
 |
|
STEP 3 – FIGURE OUT HOW MUCH MIXED EPOXY YOU’LL NEED
|
|
|
STEP 4 – MIX EPOXY & TINT IT WHITE FOR THE SEAL COAT
|
 |
|
STEP 5 – APPLY A THIN SEAL COAT
|
 |
|
STEP 6 – MIX MORE EPOXY FOR A FLOOD COAT & FOR THE MARBLING PIGMENTS
|
|
|
STEP 7 – POUR THE WHITE EPOXY FLOOD COAT
|
 |
|
STEP 8 – APPLY THE MARBLING EFFECT WITH THE LIGHT GRAY MIXED EPOXY
|
 |
|
STEP 9 – FEATHER IN THE LIGHT GRAY MARBLING
|
 |
|
STEP 10 – CREATE ‘VEINS’ WITH THE DARK GRAY MIXED EPOXY
|
 |
|
STEP 11 – ADJUST THE MARBLING EFFECT, AS DESIRED
|
 |
|
STEP 12 – (OPTIONAL) APPLY A CLEAR COAT OF MIXED EPOXY
|
|
|
STEP 13 – REMOVE CURED EPOXY DRIPS UNDERNEATH
|
|
|
PUT YOUR BEAUTIFUL TOP TO GOOD USE!
|
 |
Comments
0 comments
Please sign in to leave a comment.