
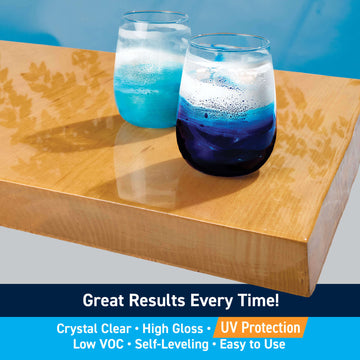


This project is great for beginners, and it doesn’t matter if you’ve never used epoxy before. Just follow these simple steps to create your own crystal clear, high gloss table top with TotalBoat TableTop Epoxy.
What You’ll Need:
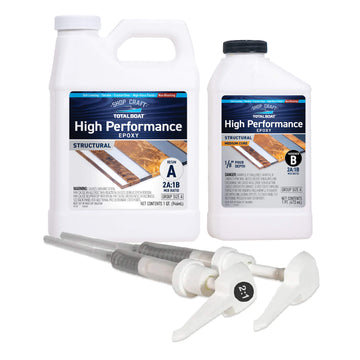
- TotalBoat Clear Epoxy Bar Top and Table Top Project Kit (2-Quart Size or Gallon Size)
- Wood surface table top
- 120-grit sandpaper
- Clean rag
- Acetone or denatured alcohol for removing surface contamination
- Proper personal protective gear, including gloves, eye, face and clothing protection.
- NOTE: If not using the Project Kit, you'll need TotalBoat TableTop Epoxy, resin spreaders, clear packing tape, mold release tape or sheathing tape, mixing cups, stir sticks and a heat gun.
|
STEP 1 – LEVEL YOUR TABLE TOP
|
 |
|
STEP 2 – CLEAN & SAND THE TOP
|
 |
|
STEP 3 – (OPTIONAL) ATTACH A DECORATIVE ITEM
|
 |
|
STEP 4 – MEASURE & MIX EPOXY & HARDENER
|
 |
|
STEP 5 – APPLY A THIN SEAL COAT
|
 |
|
STEP 6 – SAND THE SEAL COAT
|
 |
|
STEP 7 – TAPE THE EDGES TO MAKE A DAM
|
 |
|
STEP 8 – APPLY THE FIRST FLOOD COAT
|
 |
|
STEP 9 – (OPTIONAL) APPLY MORE FLOOD COATS
|
 |
|
STEP 10 – REMOVE THE TAPE AND APPLY THE FINAL FLOOD COAT
|
 |
| STAND BACK AND ADMIRE YOUR MASTERPIECE! |  |
Want to Add a Little Color to Your Epoxy?
It’s easy to add color to your mixed epoxy using colorants, such as Black Diamond Mica Powder Pigments, which were used in the gorgeous sushi bar counter top shown here. These powder pigments, plus other epoxy safe coloring agents are in the TotalBoat Epoxy Pigments Project Kit.

For additional information on how to epoxy a table top, check out 'How to Epoxy a Table Top: A Step by Step Guide.'
Comments
0 comments
Please sign in to leave a comment.